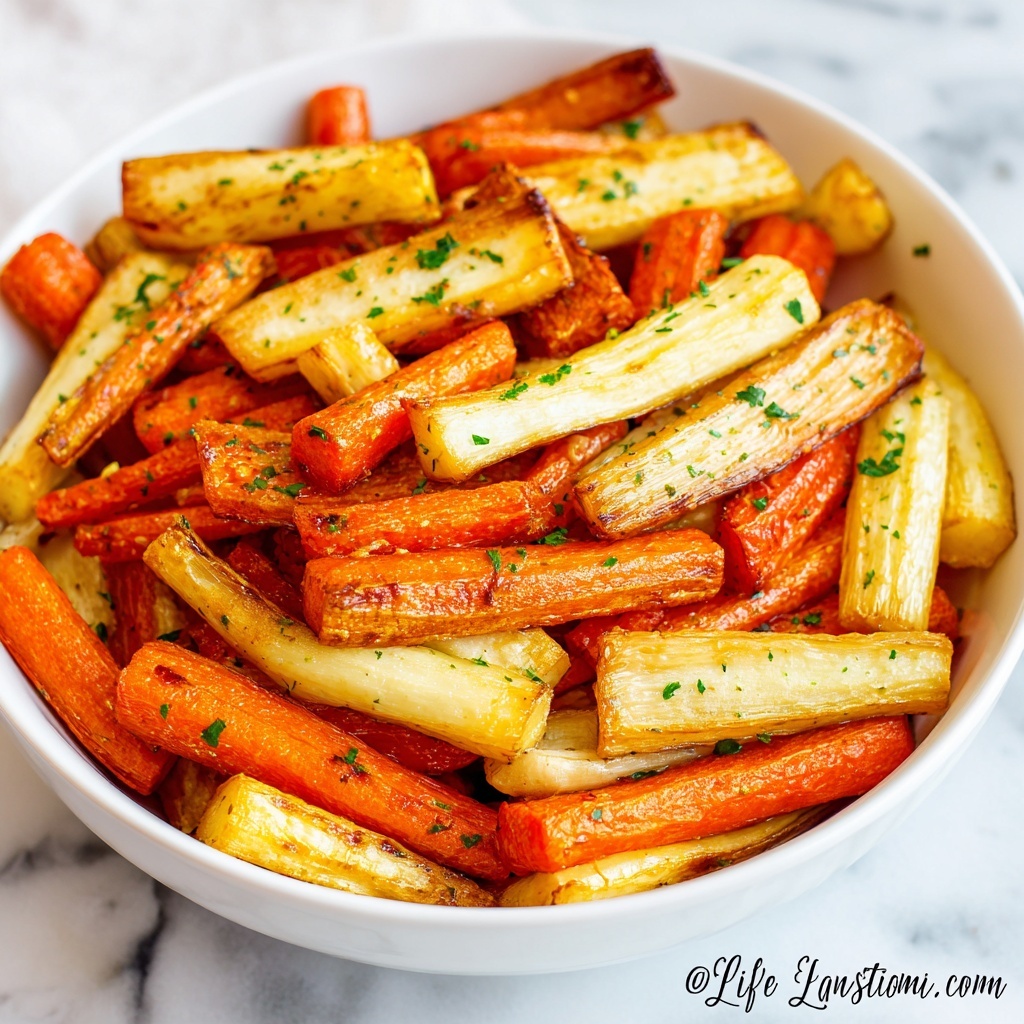
If you’ve ever wanted a side dish that’s both comforting and bursting with natural sweetness, you’re going to fall head over heels for this Honey Glazed Carrots and Parsnips Recipe. It’s one of those recipes that turns humble root vegetables into a golden, glossy, melt-in-your-mouth delight that can brighten any meal. The honey brings out the earthy sweetness of the carrots and parsnips while a delicate glaze adds just enough shine and caramelized flavor to make every bite truly special. Whether for a holiday feast or a simple weeknight dinner, this dish adds warmth and color to your plate with ease.
Ingredients You’ll Need
The beauty of this Honey Glazed Carrots and Parsnips Recipe is how simple its ingredients are, yet each one plays an essential role, delivering amazing texture, subtle sweetness, and vibrant color. Here’s what you’ll gather before you begin:
- Carrots: Choose firm, fresh carrots to ensure natural sweetness and a tender bite.
- Parsnips: These add an earthy, slightly nutty flavor that pairs beautifully with carrots.
- Honey: The star ingredient for that glossy, sweet glaze that caramelizes perfectly.
- Butter: Adds richness and helps the glaze stick to the vegetables.
- Olive oil: For roasting and enhancing the roasted flavor with a mild fruitiness.
- Fresh thyme or rosemary: An aromatic herb that brightens the dish and gives it a fragrant lift.
- Salt and pepper: To balance the sweetness and bring out the natural flavors.
How to Make Honey Glazed Carrots and Parsnips Recipe
Step 1: Prepare and Peel Your Vegetables
Start by washing your carrots and parsnips thoroughly. Peel away the skin to reveal their vibrant orange and pale cream colors. Cutting them into similar-sized sticks or chunks ensures even cooking. This step is key to marrying texture and taste in your finished dish.
Step 2: Preheat Your Oven and Prepare the Glaze
Set your oven to 400°F (200°C) to get it nice and hot. Meanwhile, in a small bowl, mix together honey, melted butter, olive oil, salt, and freshly ground pepper. Adding herbs like thyme or rosemary here infuses the glaze with delightful, fragrant notes that elevate the entire recipe.
Step 3: Toss the Vegetables in the Honey Glaze
Place the carrots and parsnips into a large mixing bowl, then pour the glaze over them. Toss until every piece is well-coated in that shiny, sweet mixture. This is where the magic happens, setting the stage for a beautifully caramelized finish when roasted.
Step 4: Roast Until Tender and Glazed
Spread the vegetables out on a baking sheet in a single layer, giving them room to caramelize rather than steam. Roast for about 25 minutes, turning halfway through to achieve even cooking and a glowing golden crust. You’ll know they’re done when they’re tender inside and perfectly glazed on the outside.
Step 5: Final Touch and Serve
Once out of the oven, feel free to sprinkle a bit more fresh thyme or a pinch of flaky sea salt to enhance flavor and texture contrast. Serving immediately keeps that warm, glossy appeal that makes this Honey Glazed Carrots and Parsnips Recipe so crave-worthy.
How to Serve Honey Glazed Carrots and Parsnips Recipe
Garnishes
A sprinkle of chopped fresh herbs like parsley or thyme adds a vibrant pop of green and fresh aroma. You can also grate a little lemon zest over top for a citrusy zing that cuts through the sweetness beautifully. A light dusting of toasted nuts adds crunch and nuttiness if you want to mix things up.
Side Dishes
This side pairs wonderfully with roasted meats such as chicken, pork, or a holiday ham. It also complements grain-based dishes like quinoa or wild rice, creating a well-balanced, colorful plate. The natural sweetness makes it a lovely contrast to savory mains, elevating any meal.
Creative Ways to Present
For a rustic look, serve it straight from a cast iron skillet or a wooden serving bowl to highlight the warmth of the dish. Layer the carrots and parsnips over a bed of lightly dressed greens for a casual yet elegant salad side. Or try the Honey Glazed Carrots and Parsnips Recipe drizzled with a balsamic glaze for a beautiful tangy finish.
Make Ahead and Storage
Storing Leftovers
Once cooled, put leftovers in an airtight container and store them in the refrigerator. They’ll stay fresh for up to 3 days, making them perfect for preparing ahead or enjoying the next day without losing flavor or texture.
Freezing
This dish freezes quite well if you want to save some for later. Spread the roasted carrots and parsnips on a baking sheet first to freeze individually, then transfer to a freezer-safe container or bag. Use within 1 month for best quality. Just be aware the texture may soften slightly upon thawing.
Reheating
To reheat, pop the leftovers into a preheated oven at 350°F (175°C) for 10-15 minutes until warmed through and the glaze gets that lovely shiny boost again. Avoid microwaving if you want to maintain the best texture and flavor.
FAQs
Can I use other root vegetables in this recipe?
Absolutely! Sweet potatoes, turnips, or even beets can add interesting flavors and colors. Just adjust roasting time accordingly based on the vegetable’s density and size to ensure tenderness.
Is it okay to use maple syrup instead of honey?
Yes, maple syrup makes a lovely alternative glaze with a slightly different flavor profile. It adds its own distinct sweetness that works well with root vegetables, just keep proportions similar.
Should I peel the carrots and parsnips?
Peeling is recommended for this recipe to ensure a smooth texture and allow the glaze to coat the veggies evenly, but if you prefer a more rustic feel, just scrub them well and roast with skins on.
Can this dish be made vegan?
Yes! Swap the butter for vegan margarine or olive oil to keep it plant-based, and make sure your honey substitute, like agave syrup or maple syrup, matches your dietary preferences.
What type of honey works best for glazing?
Light and mild honeys like clover or wildflower work wonderfully here as they blend well without overpowering other flavors. Avoid strong-flavored honeys unless you want that bold taste involved.
Final Thoughts
This Honey Glazed Carrots and Parsnips Recipe has become a favorite in my kitchen because of how easily it transforms simple ingredients into something extraordinary. Its beautiful balance of sweet, earthy, and buttery flavors makes it a versatile side you’ll want to make again and again. Trust me, once you try this, it will quickly become a staple on your dinner table too!
Print
Honey Glazed Carrots and Parsnips Recipe
- Prep Time: 10 minutes
- Cook Time: 25 minutes
- Total Time: 35 minutes
- Yield: 8 servings
- Category: Dessert
- Method: Baking
- Cuisine: American
Description
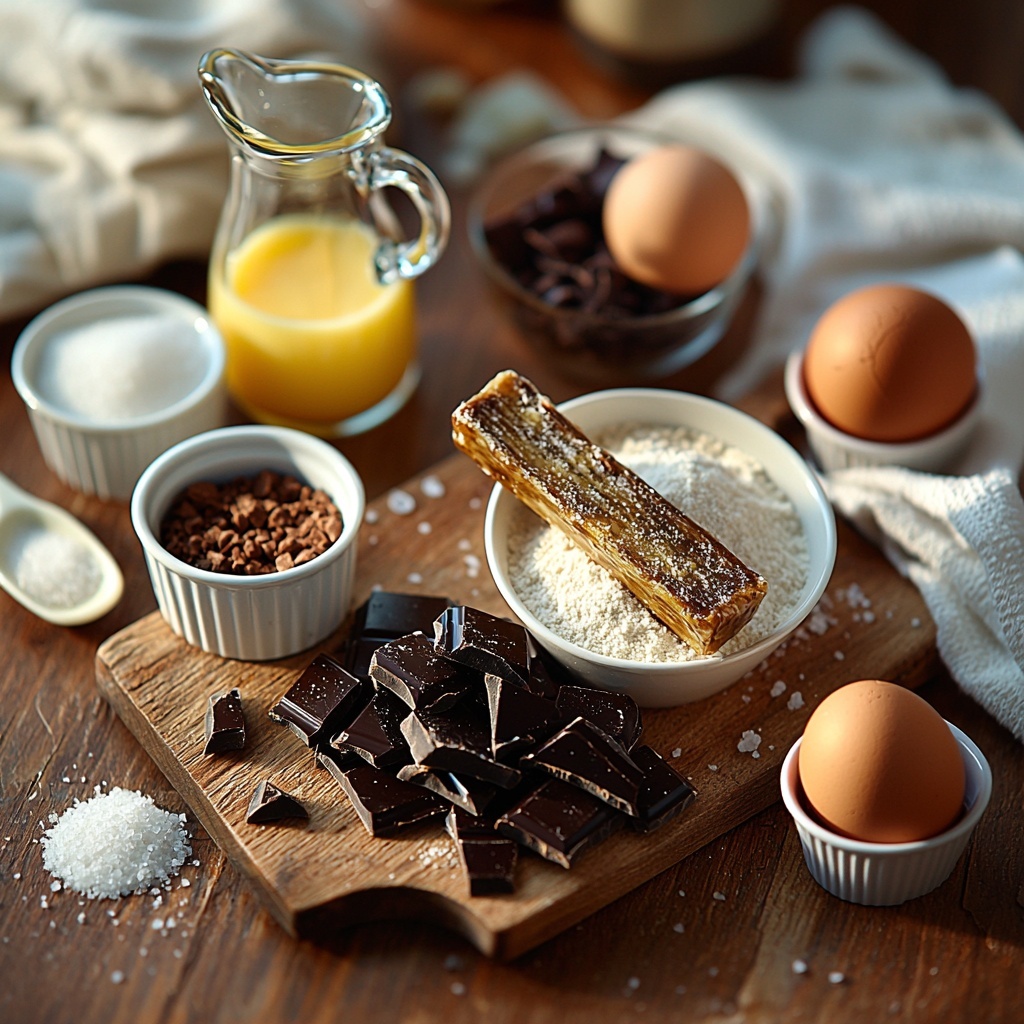
This rich and decadent Honey Glazed Carrots and Parsnips-inspired chocolate skillet cookie features a perfectly browned butter base combined with brown and granulated sugars, vanilla, and chocolate chunks for a gooey, indulgent treat. Baked in a cast iron skillet to achieve golden edges and a soft center, it’s perfect served warm with ice cream and sprinkled with flaky sea salt.
Ingredients
Dry Ingredients
- 1 3/4 cups all-purpose flour
- 1/2 teaspoon baking soda
- 1/2 teaspoon salt
Wet Ingredients
- 3/4 cup unsalted butter, browned
- 1/2 cup packed brown sugar
- 1/4 cup granulated sugar
- 1 teaspoon vanilla extract
- 1 large egg
- 1 egg yolk
Add-ins & Toppings
- 1 1/4 cups chocolate chunks or chips
- Flaky sea salt (optional)
Instructions
- Brown the Butter: In a 10-inch cast iron skillet over medium heat, melt the unsalted butter and cook until it turns golden brown and fragrant. This process enhances the nutty flavor of the butter. Remove from heat and let it cool slightly.
- Mix Sugars and Butter: Transfer the browned butter to a large bowl. Add both the packed brown sugar and granulated sugar and mix until the mixture is smooth and well combined. This will provide the perfect sweetness and moisture level for your cookie dough.
- Add Vanilla and Eggs: Stir in the vanilla extract, one large egg, and one egg yolk. Beat the ingredients together until the mixture becomes glossy and uniform, which helps bind all ingredients.
- Combine Dry Ingredients: In a separate bowl, whisk together the all-purpose flour, baking soda, and salt to ensure even distribution of the leavening agent and seasoning in the dough.
- Incorporate Dry Ingredients into Wet: Gradually add the dry flour mixture to the wet ingredients, stirring gently to combine everything into a cohesive dough without overmixing. Overmixing can develop gluten and lead to a tougher cookie.
- Fold in Chocolate Chunks: Stir in the majority of the chocolate chunks or chips, keeping some aside for topping to ensure that melted chocolate is visible and distributed on top.
- Press Dough into Skillet: Evenly press the mixed dough into the bottom of the cast iron skillet. This ensures uniform baking and a consistent texture.
- Top and Bake: Scatter the reserved chocolate chunks on top of the dough. Bake in a preheated oven at 350°F (175°C) for 20–25 minutes until the edges turn golden brown while the center remains soft and gooey.
- Cool and Serve: Allow the skillet cookie to cool for 5–10 minutes after baking. Serve warm, optionally topped with flaky sea salt and a scoop of ice cream for an irresistible dessert experience.
Notes
- For best results, use a well-seasoned 10-inch cast iron skillet to bake the cookie evenly.
- Do not overbake; the center should remain soft and slightly undercooked to retain a gooey texture.
- Flaky sea salt is optional but enhances the sweet and salty flavor contrast.
- This cookie is best enjoyed warm and fresh but can be stored covered at room temperature for up to 2 days.
- Browned butter can solidify as it cools; rewarm slightly if incorporating into sugar mixture.
