
When the spooky season rolls around, nothing beats gathering the family for a hands-on cooking adventure that’s as delightful to make as it is to eat. Halloween Mini Pizzas: Fun, Custom Treats for Family Fun Recipe brings all the joy and creativity of Halloween into your kitchen with bite-sized pizzas that guests of all ages can customize and enjoy. These mini marvels feature vibrant colors, gooey cheese, and playful toppings that turn dinner into a festive celebration that your whole family will be excited to dive into.
Ingredients You’ll Need
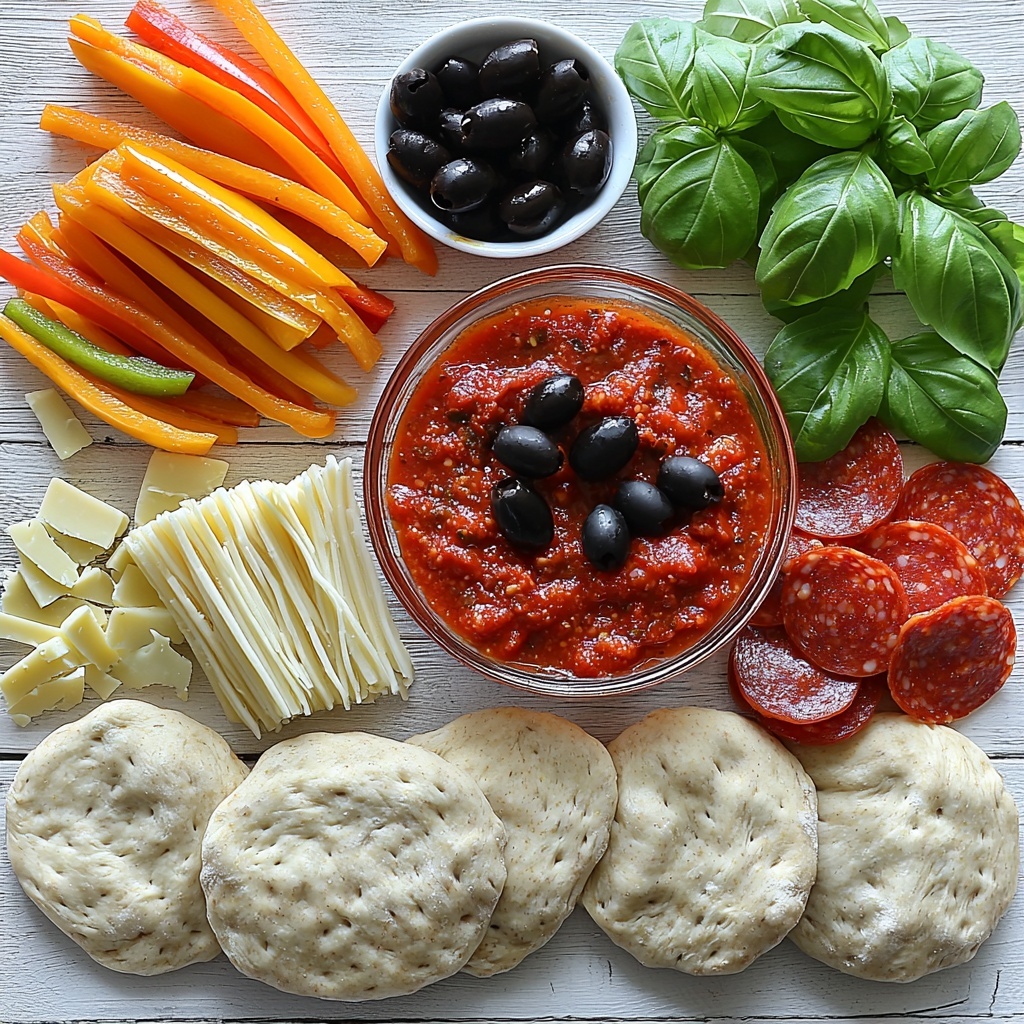
Every ingredient in this recipe plays a starring role from the crispy crust to the colorful toppings. The list is simple yet essential, making sure you get that perfect blend of flavor, texture, and Halloween spirit on every mini pizza.
- 8 ounces Mini Pizza Crusts: Whether store-bought or homemade, these form the perfect base for your spooky creations.
- 1 tablespoon Olive Oil Spray: A light mist keeps your pizzas from sticking and adds a subtle crispness to the crust.
- 3/4 cup Pizza Sauce: Rich and tangy, pizza sauce delivers classic flavor—marinara works just as well for a quick swap.
- 1 cup Mozzarella Cheese (Shredded): Melts beautifully to form the cheesy foundation every pizza deserves.
- 4 sticks Part-Skim String Cheese: Perfect for creating those fun ‘mummy’ wraps and stringy effects.
- 1/4 cup Black Olives (Sliced): Adds a salty punch and perfect “eyes” or “buttons” for spooky faces.
- 1/4 cup Mini Pepperoni (Optional): For those who love a bit of classic pizza spice and fun meat shapes.
- 1 cup Orange & Green Bell Peppers (Thin strips): These add bright pops of color and a satisfying crunch to your mini masterpieces.
- 2 tablespoons Fresh Basil (Chiffonade): A fragrant, fresh garnish to finish off the pizzas with a hint of herbaceous flair.
How to Make Halloween Mini Pizzas: Fun, Custom Treats for Family Fun Recipe
Step 1: Preheat and Prep
Kick things off by setting your oven to 425°F (220°C). Give your baking sheet a generous spritz of olive oil spray to keep those mini pizzas from sticking during the magic of baking.
Step 2: Saucy Base
Spread 1 to 2 tablespoons of pizza sauce onto each mini pizza crust. Be sure to leave a little border so the crust can bake to golden perfection without getting soggy. This sauce layer is the flavor foundation, so spread it with love!
Step 3: Cheese It Up
Half of your mini pizzas get a hearty sprinkle of shredded mozzarella cheese, that classic melty goodness we all crave. For the other half, pull apart the string cheese sticks and wrap them over the sauce to create playful mummy designs — the string cheese’s flexibility makes these spooky treats truly stand out!
Step 4: Get Creative with Toppings
Use sliced black olives, thin strips of orange and green bell peppers, and if you like, mini pepperoni to craft whimsical and eerie faces or patterns. This is where your Halloween Mini Pizzas: Fun, Custom Treats for Family Fun Recipe really shines, letting your artistic side come alive with every topping placement.
Step 5: Bake to Perfection
Pop your sheet into the oven and bake for 10 to 12 minutes. You’ll know they’re done when the crust turns a beautiful golden brown and the cheese is bubbling with melty delight.
Step 6: Final Touches
Give the pizzas a couple of minutes to cool, then sprinkle your fresh basil chiffonade over each one. This bright, aromatic touch lifts the flavors wonderfully and adds a fresh look to your fun, custom treats.
How to Serve Halloween Mini Pizzas: Fun, Custom Treats for Family Fun Recipe
Garnishes
Fresh basil is the go-to herb here, but feel free to toss on a sprinkle of crushed red pepper flakes or a drizzle of garlic-infused olive oil for an extra flavor kick. These simple garnishes can elevate the look and taste, making each bite even more irresistible.
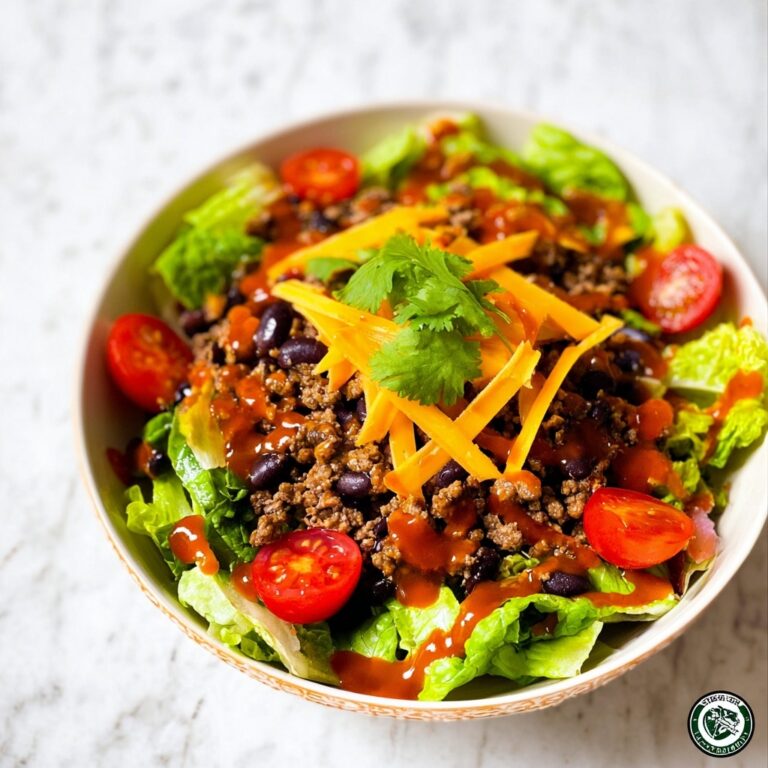
Side Dishes
Pair these mini pizzas with a crisp green salad or some roasted autumn vegetables for a balanced meal. Crunchy vegetable sticks with a spooky-themed dip, like a creamy pumpkin ranch, also get everyone excited to dig in and stay in the Halloween spirit.
Creative Ways to Present
Presentation is half the fun! Serve the mini pizzas on a Halloween-themed platter or arrange them in the shape of a jack-o’-lantern on a large tray. Add cobweb-patterned napkins and use small decorative picks to make “witch’s fingers” or “monster eyes” stand out on each pizza.
Make Ahead and Storage
Storing Leftovers
If you have any leftover Halloween Mini Pizzas: Fun, Custom Treats for Family Fun Recipe, store them in an airtight container in the refrigerator for 3 to 4 days. This keeps the crust from getting too soggy and preserves the fresh toppings’ flavor.
Freezing
You can freeze the mini pizzas either before or after baking. Lay them out on a baking sheet to freeze individually before transferring to a freezer-safe bag or container. Frozen mini pizzas are best enjoyed within 1 month for optimal taste and texture.
Reheating
To warm up your leftover or frozen pizzas, pop them in a preheated oven at 375°F (190°C) for about 8 to 10 minutes or until the cheese bubbles and the crust crisps back up. Avoid microwaving if you want to keep that satisfying crunch!
FAQs
Can I use regular-sized pizza crust instead of mini pizza crusts?
Absolutely! Regular-sized crusts will just make for larger pizzas. If you want to keep the fun bite-sized feel, consider slicing the bigger pizza into smaller portions after baking.
What if I have dietary restrictions or want to make this recipe gluten-free?
You can find gluten-free mini pizza crusts at many stores, or try making your own with gluten-free flour blends. Just be sure to check that all your toppings are also gluten-free to keep things safe.
How can I make the mummy design easier for kids?
Encourage kids to gently pull apart the string cheese and lay the strips over the sauce crookedly to mimic bandages. Using a toothpick to place tiny olive “eyes” helps add personality without much mess.
Are there vegetarian options for toppings?
Definitely! Skip the mini pepperoni and load up on colorful veggies like mushrooms, spinach, or even roasted pumpkin chunks to keep your pizza festive and meat-free.
Can I prepare these mini pizzas ahead of time for a party?
Yes! Assemble all the pizzas up to the baking step, cover them tightly, and refrigerate for a few hours before baking. This saves time and lets you enjoy the party while these treats bake fresh.
Final Thoughts
Halloween Mini Pizzas: Fun, Custom Treats for Family Fun Recipe isn’t just a meal; it’s an experience that brings smiles, sparks creativity, and makes any family gathering feel magical. Whether you’re crafting goofy faces or eerie mummies, these pizzas are a delightful way to share some festive fun. So grab your ingredients and get ready to make this beloved recipe a new Halloween tradition you’ll look forward to year after year!
Print
Halloween Mini Pizzas: Fun, Custom Treats for Family Fun Recipe
- Prep Time: 10 minutes
- Cook Time: 12 minutes
- Total Time: 22 minutes
- Yield: 4 servings
- Category: Snack
- Method: Baking
- Cuisine: Italian-American
Description
Halloween Mini Pizzas are a fun and festive treat perfect for family gatherings and parties. These bite-sized pizzas feature mini pizza crusts topped with classic pizza sauce, mozzarella cheese, and creative ‘mummy’ designs using string cheese, decorated with olives, bell peppers, and optional mini pepperoni for a spooky holiday twist.
Ingredients
Pizza Base
- 8 ounces Mini Pizza Crusts (store-bought or homemade)
- 1 tablespoon Olive Oil Spray (for greasing the baking sheet)
- 3/4 cup Pizza Sauce (Marinara can be used as a substitute)
Cheese
- 1 cup Mozzarella Cheese (shredded)
- 4 sticks Part-Skim String Cheese (for ‘mummy’ designs)
Toppings
- 1/4 cup Black Olives (sliced)
- 1/4 cup Mini Pepperoni (optional)
- 1 cup Orange & Green Bell Peppers (thin strips)
Garnish
- 2 tablespoons Fresh Basil (chiffonade for garnishing)
Instructions
- Preparation: Gather all your ingredients and preheat your oven to 425°F (220°C). Mist a baking sheet with olive oil spray to prevent the mini pizzas from sticking during baking.
- Sauce Application: Spread 1 to 2 tablespoons of pizza sauce evenly over each mini pizza crust, leaving a small border around the edges to form the crust and prevent sauce overflow during baking.
- Cheese Layering: Sprinkle shredded mozzarella cheese on half of the mini pizzas. For the other half, create ‘mummy’ faces by pulling apart the part-skim string cheese sticks and wrapping the strips over the pizzas to mimic bandages.
- Adding Toppings: Decorate the mini pizzas with sliced black olives, thin strips of orange and green bell peppers, and optional mini pepperoni to create spooky Halloween-inspired designs such as eyes and mouths for the mummies.
- Baking: Place the prepared mini pizzas on the greased baking sheet and bake in the preheated oven for 10 to 12 minutes, or until the crusts turn golden brown and the cheese has melted thoroughly.
- Cooling and Garnishing: Once baked, remove the mini pizzas from the oven and allow them to cool for about 2 minutes. Finish by garnishing with fresh basil chiffonade for added color and a fresh flavor before serving.
Notes
- Use part-skim string cheese for healthier mummy designs with lower fat content.
- If marinara sauce is unavailable, a traditional pizza sauce works equally well.
- Customize toppings to personal preference to create various spooky Halloween faces.
- Mini pizza crusts can be homemade or store-bought for convenience.
- Allow pizzas to cool slightly before serving to avoid burns from hot cheese and sauce.


