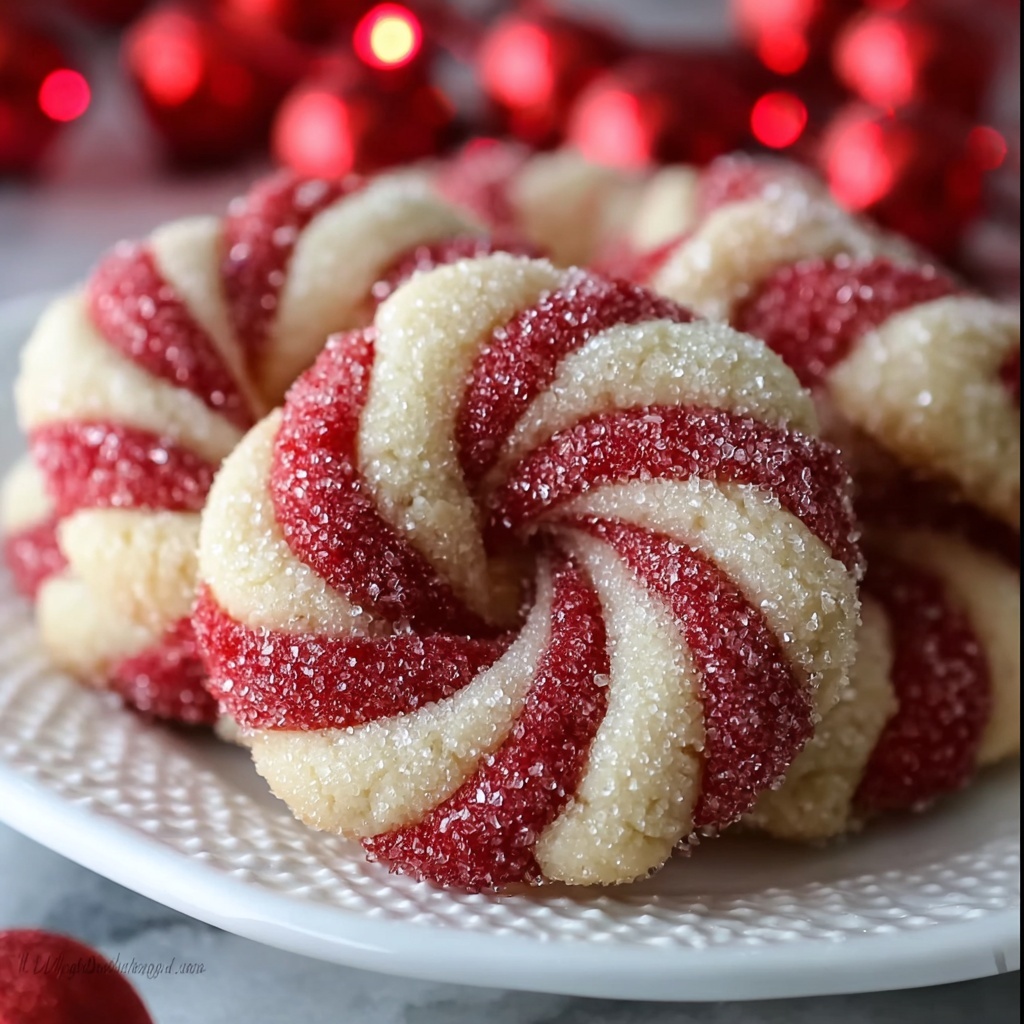
If you’re looking for a festive treat that instantly brings holiday cheer, this Magical Candy Cane Cookies Recipe is an absolute must-try. These delightful cookies combine the classic flavors of peppermint and vanilla with a playful twist of red and white dough, creating not only a tasty bite but a charming holiday decoration. The crushed candy canes add a perfect crunchy finish, making every nibble a magical experience that’s hard to forget. Whether you’re baking for a gathering or just to brighten your own day, these cookies will quickly become a beloved favorite.
Ingredients You’ll Need
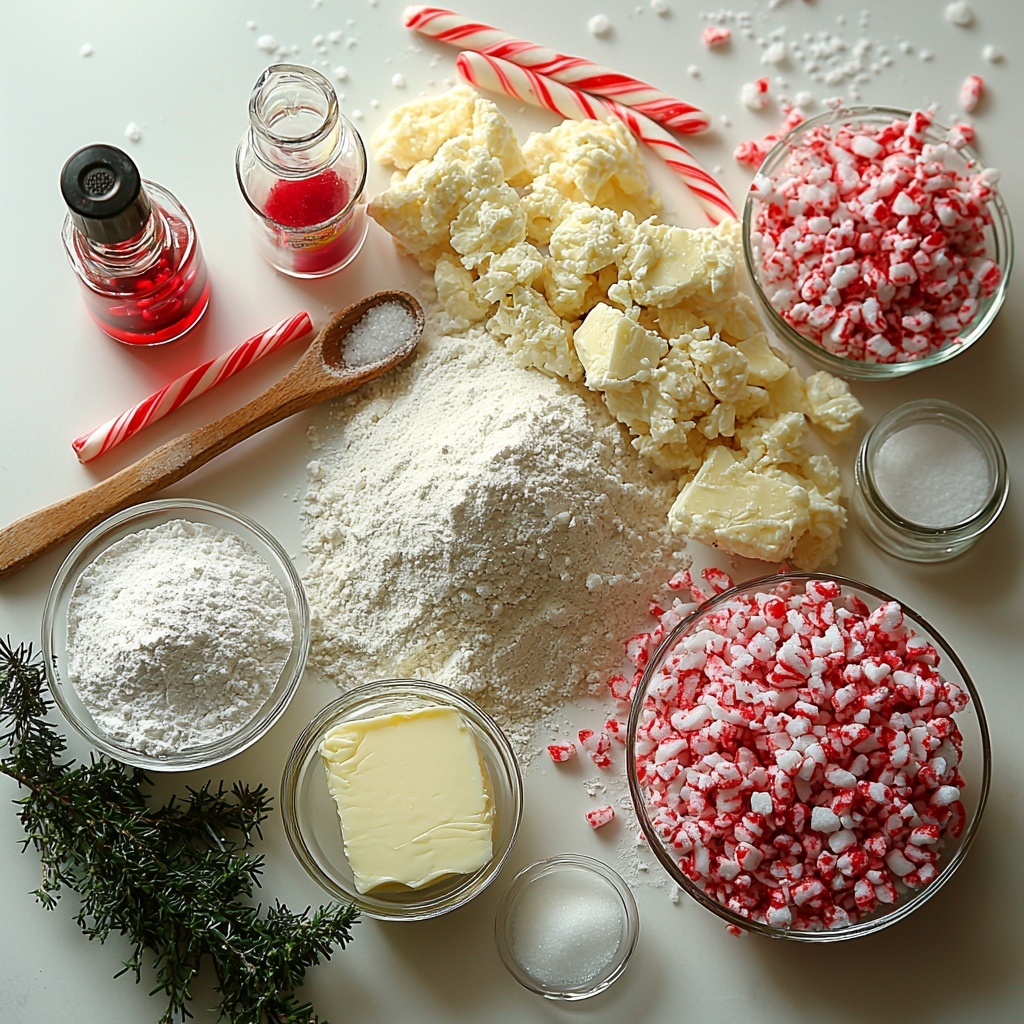
To make these Magical Candy Cane Cookies, you don’t need a pantry full of complicated ingredients. Each one plays a crucial role in balancing flavor, texture, and that festive red hue that makes these cookies so special.
- 1 cup unsalted butter, softened: Provides the rich, creamy base essential for a tender cookie texture.
- 1 cup powdered sugar: Adds sweetness and ensures a delicate, melt-in-your-mouth consistency.
- 1 teaspoon vanilla extract: Brings warmth and depth to the cookie’s flavor profile.
- 1 teaspoon peppermint extract: Gives the iconic candy cane peppermint flavor that makes these cookies truly magical.
- 2 cups all-purpose flour: The structure behind the cookie, it helps the dough come together perfectly.
- 1/2 teaspoon salt: Balances sweetness and brightens all the flavors.
- 1/2 teaspoon red food coloring: Creates the festive red swirls that make these cookies eye-catching.
- 1/2 cup crushed candy canes: Adds crunch and an extra peppermint punch as a finishing touch.
How to Make Magical Candy Cane Cookies Recipe
Step 1: Preheat and Prepare
Start by preheating your oven to 350°F (175°C). This ensures it’s ready to go as soon as your cookies are shaped to perfection. Line your baking sheets with parchment paper to prevent any sticky situations.
Step 2: Cream Butter and Sugar
In a large mixing bowl, beat together the softened butter and powdered sugar until the mixture becomes light and fluffy. This step is key—it creates the perfect tender crumb that melts in your mouth.
Step 3: Add Extracts
Stir in both the vanilla extract and peppermint extract, blending until combined. These extracts are what give the cookies their magical scent and flavor that instantly transports you to holiday bliss.
Step 4: Incorporate Dry Ingredients
Gradually add the all-purpose flour and salt to your wet ingredients. Mix this until the dough begins to form and comes together smoothly without being sticky.
Step 5: Color the Dough
Divide the dough in half. Add the red food coloring to one half, kneading it gently until the color is evenly distributed. This step is what brings the iconic candy cane look to your cookies.
Step 6: Shape Candy Canes
Roll out a tablespoon-sized portion from each colored dough into ropes. Twist the red and the plain dough ropes together and gently shape them into mini candy canes. This hands-on step is fun and lets you personalize each cookie.
Step 7: Bake to Perfection
Place your shaped cookies on the prepared baking sheets, leaving enough space for a little spread. Bake them for 10-12 minutes or until they’re lightly golden around the edges, signaling a perfectly baked cookie.
Step 8: Cool and Finish
Once baked, allow the cookies to cool fully on a wire rack. Then, sprinkle crushed candy canes over the top while they’re still slightly warm so the bits stick beautifully and add a festive crunch.
How to Serve Magical Candy Cane Cookies Recipe
Garnishes
Adding a sprinkle of extra crushed candy canes or a dusting of powdered sugar before serving can elevate the presentation and enhance that classic peppermint crunch. A drizzle of white chocolate would also add a lovely creamy sweetness.
Side Dishes
These cookies are fantastic alongside a warm cup of hot cocoa or peppermint tea. The beverages balance the sweet peppermint flavor and complement the tender texture, creating an inviting treat break.
Creative Ways to Present
Try arranging the cookies in a wreath shape on a serving platter for a festive centerpiece, or tie a few together with a red ribbon as charming edible gifts. Placing them on decorative holiday plates adds to the magical experience every time you serve them.
Make Ahead and Storage
Storing Leftovers
Keep your Magical Candy Cane Cookies fresh by storing them in an airtight container at room temperature. They’ll maintain their softness and flavor beautifully for 3-4 days, making them perfect for sharing throughout the holiday season.
Freezing
If you want to enjoy these treats longer, freeze the completely cooled cookies in a single layer on a baking sheet, then transfer them to a freezer-safe container. They will keep well for up to 2 months. Thaw at room temperature when you’re ready to indulge.
Reheating
For a fresh-from-the-oven taste, warm cookies in a low oven (about 300°F) for 5 minutes or pop them in the microwave for 10 seconds. This revives their softness and brings back that just-baked magic we all love.
FAQs
Can I use regular peppermint instead of peppermint extract?
Regular peppermint leaves or candies won’t provide the same concentrated flavor as peppermint extract. For that iconic candy cane taste in this Magical Candy Cane Cookies Recipe, extract is best because it’s more potent and evenly blends into the dough.
Is it okay to substitute butter with margarine or oil?
Butter is crucial for texture and flavor in these cookies. Margarine or oil can affect both the taste and how the dough handles when shaping candy canes. For the best result, stick with softened unsalted butter.
How do I prevent red food coloring from staining my hands?
Try wearing disposable gloves or lightly dust your hands with flour while kneading the colored dough. This simple tip keeps your fingers clean while you create those festive red dough strands.
Can I make these cookies gluten-free?
To make a gluten-free version, substitute the all-purpose flour with a gluten-free baking blend that measures like regular flour. Be mindful that some blends may alter the texture slightly, so experiment to find your favorite.
Why do the cookies need to cool before adding crushed candy canes?
Cooling prevents the candy canes from melting too much, keeping their signature crunch and vibrant color intact on the cookies. Adding them too soon can cause the candy bits to dissolve and lose their festive appeal.
Final Thoughts
There’s just something truly special about this Magical Candy Cane Cookies Recipe that makes the holidays brighter and baking more joyful. Easy enough for any home baker yet impressive in looks and flavor, these cookies are a festive feast for both the eyes and the taste buds. I can’t wait for you to make a batch and share that Christmas magic with your loved ones!
Print
Magical Candy Cane Cookies Recipe
- Prep Time: 15 minutes
- Cook Time: 12 minutes
- Total Time: 27 minutes
- Yield: 24 cookies
- Category: Dessert
- Method: Baking
- Cuisine: American
Description
These Magical Candy Cane Cookies combine festive peppermint flavor with a delightful twist of red and white dough, shaped into charming candy canes and topped with crushed candy canes for an extra burst of holiday cheer. Perfect for seasonal celebrations, these buttery cookies are simple to make and sure to impress.
Ingredients
Cookie Dough
- 1 cup unsalted butter, softened
- 1 cup powdered sugar
- 1 teaspoon vanilla extract
- 1 teaspoon peppermint extract
- 2 cups all-purpose flour
- 1/2 teaspoon salt
- 1/2 teaspoon red food coloring
Topping
- 1/2 cup crushed candy canes
Instructions
- Preheat Oven: Preheat your oven to 350°F (175°C) to ensure it is ready for baking the cookies.
- Cream Butter and Sugar: In a large mixing bowl, cream together the softened unsalted butter and powdered sugar until smooth and fluffy, providing a light and airy base for your cookie dough.
- Add Extracts: Mix in the vanilla and peppermint extracts thoroughly to infuse the dough with rich, creamy, and refreshing holiday flavors.
- Incorporate Dry Ingredients: Gradually add in the all-purpose flour and salt, mixing continuously until a cohesive dough forms that’s easy to handle but not sticky.
- Color the Dough: Divide the dough into two equal halves. Add red food coloring to one half and knead until the color is evenly distributed, leaving the other half white.
- Shape Candy Canes: Roll out tablespoon-sized amounts of each colored dough into ropes. Twist one red and one white rope together, then carefully form into classic candy cane shapes.
- Prepare Baking Sheet: Place the shaped candy canes on baking sheets lined with parchment paper to prevent sticking and ensure even baking.
- Bake Cookies: Bake in the preheated oven for 10-12 minutes, or until the edges are lightly golden but the centers remain soft.
- Cool and Decorate: Allow the cookies to cool completely on the baking sheets to firm up. Once cooled, sprinkle generously with crushed candy canes for added texture and festive decoration.
Notes
- Ensure the butter is softened at room temperature for easier creaming and better dough consistency.
- If you prefer a stronger peppermint flavor, you can increase the peppermint extract slightly.
- Use parchment paper to avoid cookie sticking and for easy cleanup.
- The cookies should be stored in an airtight container to maintain freshness for up to one week.
- For a gluten-free version, substitute all-purpose flour with a gluten-free flour blend.


